Print files11 min read
What Is Prepress? How a UV Printing House Prepares Customer Files
Most files that reach a print house aren’t ready for the press. What prepress covers, why UV printing adds steps that paper never needs, and how Sun Studio, a UV printing studio in Dubai, turns customers’ PNGs and JPGs into vector artwork with VKTR Studio.
Key takeaways
- Prepress is the work between a finished design and the printing press: checking the file, fixing or rebuilding artwork, setting colour, preparing layers and proofs, so the press prints what the customer approved.
- Many files arrive as PNGs, screenshots, phone photos or AI images rather than vector artwork. Sun Studio, a UV printing studio in Dubai, converts suitable ones with VKTR Studio, then its designers check and prepare them.
- UV printing adds prepress work that paper never needs: white-ink layers for clear or dark surfaces, varnish and raised layers, mirrored artwork for reverse printing, and wraps for bottles and tumblers.
- A vector file is not yet a production file. The final size, colours, fonts, transparency, layers and printing method still have to be set, and then proved on a sample.
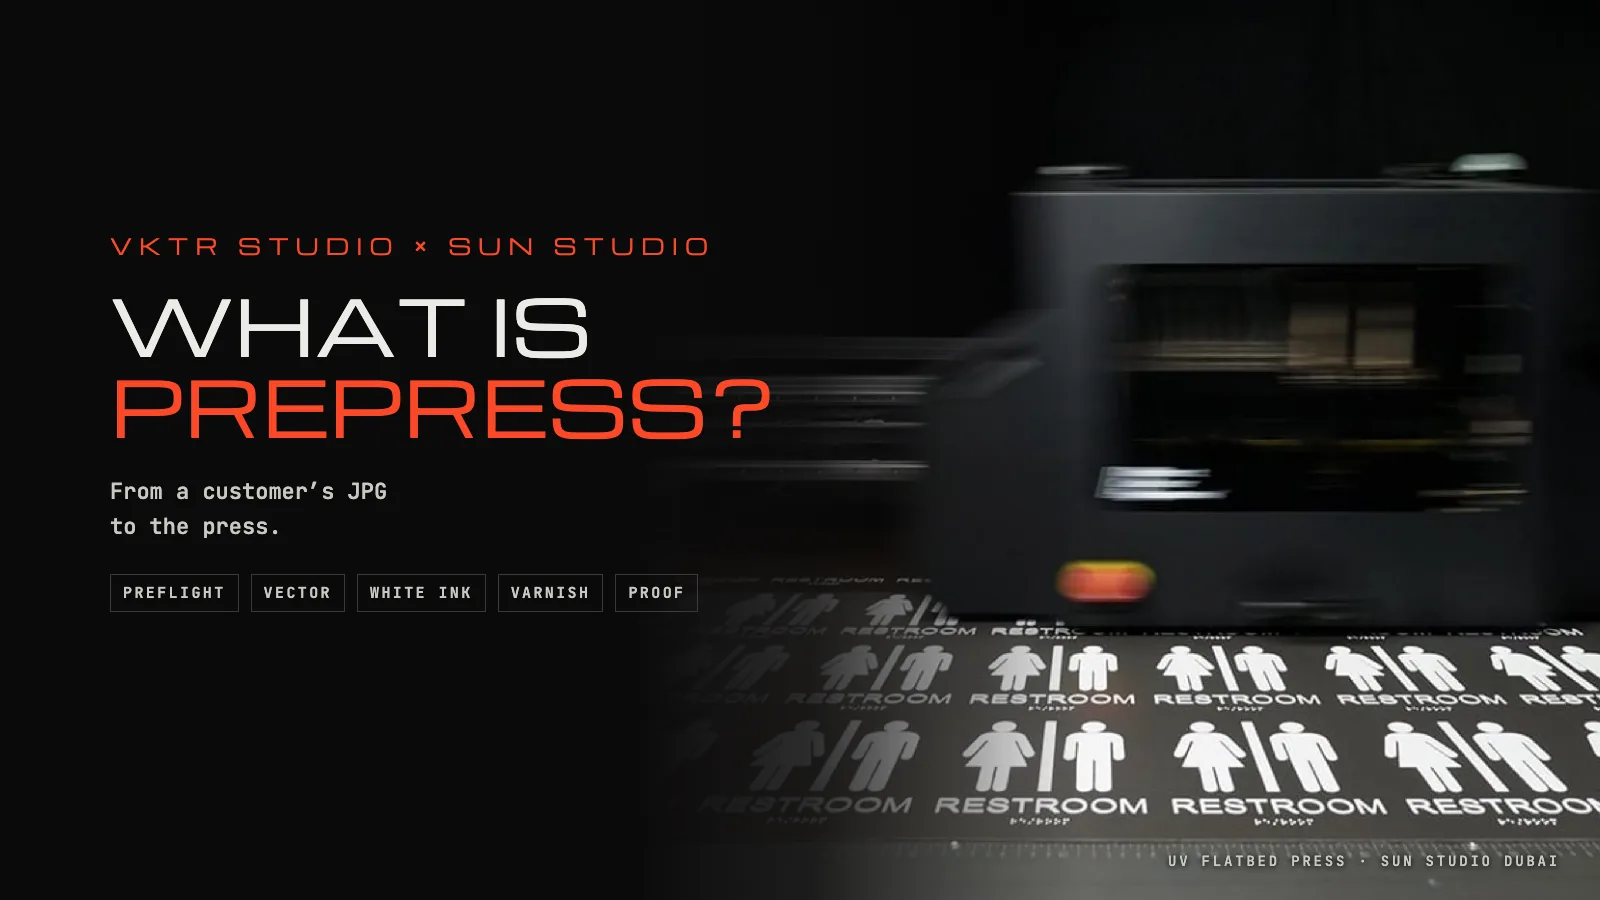
Prepress is everything that happens to a print job between the finished design and the moment the press starts. It is where a file is checked, corrected or rebuilt, colour-managed, split into the layers the machine needs and proved, so that what comes off the press is what the customer approved. Done well, nobody notices it. Done badly, the mistake is printed onto every piece.
Both spellings, prepress and pre-press, are in use and mean the same thing. This guide explains what prepress covers today, using the workflow of Sun Studio, a UV printing studio in Dubai, as a worked example. Sun Studio belongs to the same group as VKTR, and VKTR Studio is one of the tools in its prepress.
What prepress covers
In traditional offset printing, prepress meant typesetting, film, colour separations and printing plates. Most of that is digital now, but the core jobs are the same in almost every print shop:
- Preflight: checking the file before anything else: final size, image resolution at that size, fonts, colour mode, transparency, bleed, and anything missing, such as a linked image.
- Artwork correction: fixing what preflight finds, from a missing font to a logo that is too small, and redrawing or vectorizing artwork that only exists as pixels.
- Colour: converting to what the press prints, matching brand colours against Pantone references or a physical sample, and deciding what prints as process colour and what as a special ink.
- Layout and imposition: placing the artwork at its final size and position, adding bleed and cut lines, and arranging many pieces on one sheet or one printer bed.
- Proofing: a proof the customer approves, and a physical sample when the material or the finish is new.
- Output: sending the job to the RIP, the raster image processor that turns the file into the dots, passes and ink channels of one particular machine.
The standards for print files carry the word in their name. ISO 15930-7, which defines PDF/X-4, is titled “Graphic technology — Prepress digital data exchange using PDF”, and ISO last reviewed and confirmed it in 2026. Adobe’s instructions for making press-ready PDFs in Acrobat Pro recommend a PDF/X-4 conversion profile.
What customers actually send
Prepress would be simple if every file arrived as a finished vector PDF. Few do. Sun Studio’s own artwork guide says most artwork reaches a print studio as a PNG or a JPG, and the list will be familiar to any print shop:
- A logo saved from a website or a social profile, often only a few hundred pixels wide.
- A screenshot, or an image forwarded through a messaging app that compressed it on the way.
- A sketch photographed on a phone.
- An image generated with AI.
- A file that looks like vector artwork but has a picture embedded inside it.
Files like these come from designers as well as from end customers: the working file has been lost, or the brand only ever had a PNG. None of them is wrong to send. They just need work before they can be printed, and that work is prepress. Sun Studio doesn’t ask customers to fix their own files: standard file preparation is included with its print orders, and the team tells the customer when an image needs vectorizing or redrawing.
Where vectorizing fits: how Sun Studio uses VKTR Studio
When a logo, line drawing or flat graphic arrives as pixels, the prepress decision is whether to trace it, redraw it or keep it as an image. Sun Studio’s team tried VKTR Studio on four files first, then had a call and a demonstration, and now uses VKTR’s unlimited plan for suitable customer artwork. PRO TECHnology, which makes VKTR, says Sun Studio uses it in its wall-printing work too.
Sun Studio describes the split this way: VKTR handles the conversion, and its designers check the paths, the lettering and the colours, then prepare the production layers, masks and settings for the material and the finish. That division of labour is the point. The tracer takes over the slow part, redrawing shapes by hand, and leaves the judgement to people.
In practice, the conversion step runs like this:
- Decide what should be vector. Logos, lettering, icons and line art benefit. Photographs stay as high-resolution images, and for a photographic print Sun Studio asks for the original photo.
- Convert the clearest copy. The largest, sharpest version goes into VKTR Studio, which traces it in the browser and splits it into layers: the background, the objects and the text, with the text in lines and words.
- Check it against the source. Letter shapes, small gaps, corners and colour boundaries, at the size the piece will be printed.
- Redraw what the trace missed. Tiny or damaged copies, and lettering that must match a brand typeface exactly, may still need a designer.
- Hand it on to production. The checked vector goes on to colour, layers and the machine’s own workflow.
For the choice between tracing and redrawing, see how to fix a pixelated logo for printing. For what happens inside the tracer, see how image tracing works. The Sun Studio story covers how the studio adopted VKTR.
The prepress steps UV printing adds
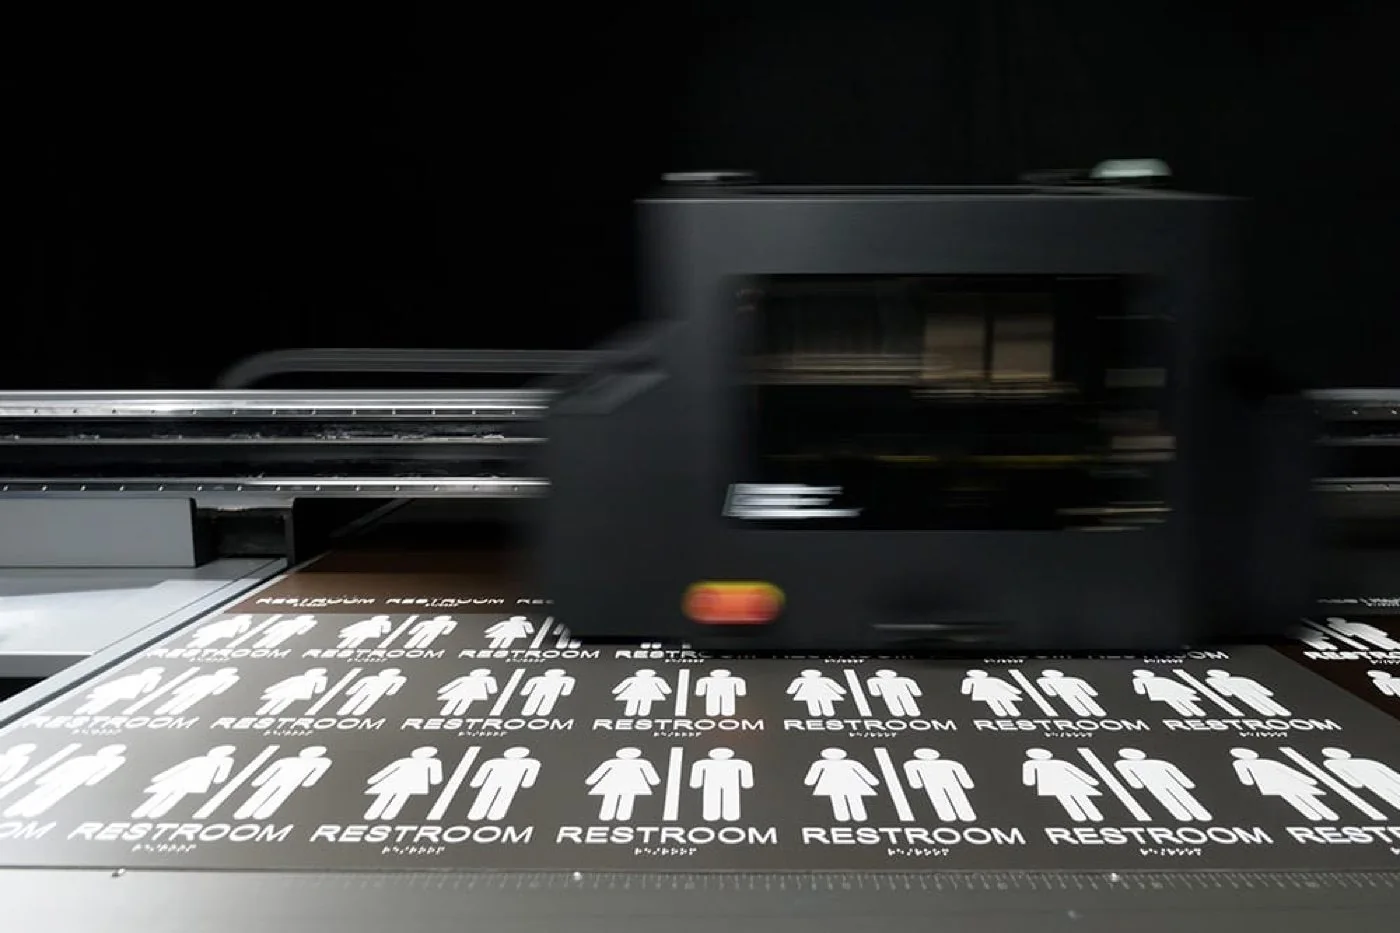
UV printing cures the ink with ultraviolet light the moment it lands, so it can print directly onto glass, metal, acrylic, wood, leather and finished walls. Printing onto objects instead of paper adds prepress work that a paper job never needs. Sun Studio’s guide lists what goes beyond the vector:
- White ink. Process inks are transparent, so on clear glass, clear acrylic or a dark surface the colours need white underneath. Prepress defines which elements get white and which should let the surface show through (how to prepare a white ink layer).
- Varnish and raised layers. Gloss, matt or spot-gloss varnish, raised texture and braille are built from extra layers, and the artwork has to identify which elements take them, as a separate layer rather than a note (spot UV file setup).
- Reverse printing. Artwork printed on the back of clear acrylic or glass, to be read through the material, is mirrored and its layer order is inverted.
- Cylindrical wraps. For 360-degree printing on bottles, cans and tumblers, the design is set to the printable height and the circumference, with the seam position and the shape of the vessel taken into account (artwork for bottle and tumbler printing).
- Jigs and positioning. Anything that isn’t a flat sheet is held in a jig so every piece sits in exactly the same place, and the artwork is positioned to match.
This is where vector artwork earns its keep. A white layer, a varnish mask or a raised layer is a selection of shapes. With separate, editable vector shapes, a designer selects the right elements and builds the layer. With a flat image, those shapes have to be cut out by hand first.
Colour, proofs and samples
Screens show colour in RGB, and every press prints with its own set of inks, which on a UV press can include white and varnish. Prepress converts the artwork to what the machine prints and checks brand colours against references. Sun Studio asks for brand values for every colour that must match, Pantone numbers where they exist, or a physical sample to match against.
Then comes the proof. For any unfamiliar material, Sun Studio recommends a printed sample on the actual item, not on a similar one, because the surface finish decides adhesion: two bottles that look identical can behave differently under the UV lamp.
A vector file is not yet a production file
A vector file solves one problem: the artwork can be resized and edited without losing quality. Sun Studio’s guide draws the line clearly. A vector describes the artwork; a production file also sets the final size and the right colours, deals with fonts and transparency, adds bleed where the process needs it, and is prepared for the specific printing method.
That is why a print house asks for more than “a vector”. For files going to a conventional print shop the usual hand-off is a PDF, often PDF/X. EPS vs SVG vs PDF compares the formats, and what to send when a printer asks for an open file covers that request.
A prepress checklist for designers and customers
Whichever print house you use, these checks save a round trip:
1. Send the original, not a copy
Send the working file (AI, PDF, SVG or EPS) if it exists. If it doesn’t, send the largest image you have: screenshots and images forwarded through messaging apps have usually been shrunk and compressed on the way.
2. Mark what should be vector
Logos, lettering and line art travel best as vector artwork, with fonts converted to outlines. Photographs travel as high-resolution images at or above the printed size.
3. Give the real size and the object
State the printed dimensions and the material, and add a photo of the object or panel. For bottles, cans and tumblers, add the diameter and height.
4. Name every colour that must match
Give Pantone numbers or brand colour values, or provide a physical sample to match against.
5. Say what is special
Point out where white ink, varnish or raised areas go, whether the print will be read through clear material, and any area that must stay unprinted.
6. Approve a proof, and a sample for a new material
Check the proof before production, and ask for a printed sample on the actual item when the material or the finish is new to you or to the printer.
Prepress software: what each tool does
| Job | Typical tools |
|---|---|
| Checking PDFs (preflight) | Adobe Acrobat Pro’s Preflight, with profiles for PDF/X and other standards |
| Fixing and rebuilding artwork | Vector editors such as Adobe Illustrator, Inkscape and CorelDRAW |
| Turning pixel logos into vectors | Tracers such as VKTR Studio, Illustrator’s Image Trace and Inkscape’s Trace Bitmap |
| Colour, layers and machine output | The printer’s RIP software, which drives each machine’s inks, white, varnish and passes |
| Proofing | Proofs on a calibrated screen, and printed samples on the actual material |
Printing in the UAE
Sun Studio prints in Al Quoz, Dubai, for customers across the UAE, on flatbed, cylindrical and wall printers. Its guide to turning images into vectors for printing lists what to send for each surface, and what is UV printing explains the process. To print a project, contact Sun Studio with the image, the object, the size and the finish.
Prepress questions
- What is prepress in printing?
- Prepress is the work done between a finished design and the printing press: checking the file, correcting or rebuilding artwork, managing colour, preparing layers, layout and proofs, then sending the job to the printer’s RIP.
- Is it prepress or pre-press?
- Both spellings are used and they mean the same thing.
- What are the steps in prepress?
- Preflight checks, artwork correction (including vectorizing or redrawing pixel artwork), colour conversion and matching, layout and imposition, proofing, and output to the RIP. UV printing adds white-ink, varnish and raised layers, mirrored artwork for reverse printing, and wraps for cylindrical objects.
- What does a prepress check look for?
- The final size, image resolution at that size, fonts, colour mode and brand colours, transparency, bleed and cut lines, and anything missing, such as a linked image or a font.
- Why do printers ask for vector files?
- Vector artwork stays sharp at any size, and its shapes can be selected one by one, which prepress needs to build white-ink, varnish and cut layers. A pixel image has to be traced or redrawn first.
- Do I need to vectorize my logo before sending it to a printer?
- Not necessarily. Many print houses, Sun Studio among them, include standard file preparation. Send the best original you have and ask. To prepare it yourself, a tracer such as VKTR Studio converts a PNG or JPG into editable vector artwork.
- Is a vector file print-ready?
- Not by itself. A production file also needs the final size, the right colours, fonts and transparency dealt with, bleed where the process needs it, and setup for the printing method.
- What is a RIP in printing?
- A raster image processor: software that converts the print file into the dots, passes and ink channels a specific printer lays down, including white and varnish on a UV press.
- What prepress software do print shops use?
- Acrobat Pro’s Preflight for checking PDFs, a vector editor such as Illustrator or Inkscape for fixing artwork, a tracer such as VKTR Studio for pixel logos, and the printer’s RIP for colour, layers and output.
References
- Sun Studio: VKTR Studio, turn logos, line art and detailed artwork into vectors for printing
- Sun Studio: What is UV printing?
- Sun Studio: Raised and 3D embossed UV printing
- PRO TECHnology: Fix a low-resolution logo for printing with VKTR Studio
- ISO 15930-7:2010, Prepress digital data exchange using PDF, Part 7 (PDF/X-4)
- Adobe: Make PDFs print-ready with Acrobat Pro