Guides8 min read
Vector File for Embroidery: How to Turn a Logo Into a PES or DST File
Embroidery machines stitch from stitch files such as PES or DST, made by digitizing; a clean vector logo is what digitizing starts from. What digitizers need from your artwork, the free route from PNG to stitch file, and what we found when we measured 26 logos at 90 mm wide.
Key takeaways
- An embroidery machine cannot stitch a vector file. It needs a stitch file, such as PES, DST, JEF, EXP or VP3, made by digitizing: choosing a stitch type, direction and order for every part of the design.
- A clean vector logo is the best starting point for digitizing: flat colours that become thread colours, and closed shapes that become stitch areas. Ink/Stitch, a free extension for Inkscape, turns such shapes into stitches and writes PES and DST.
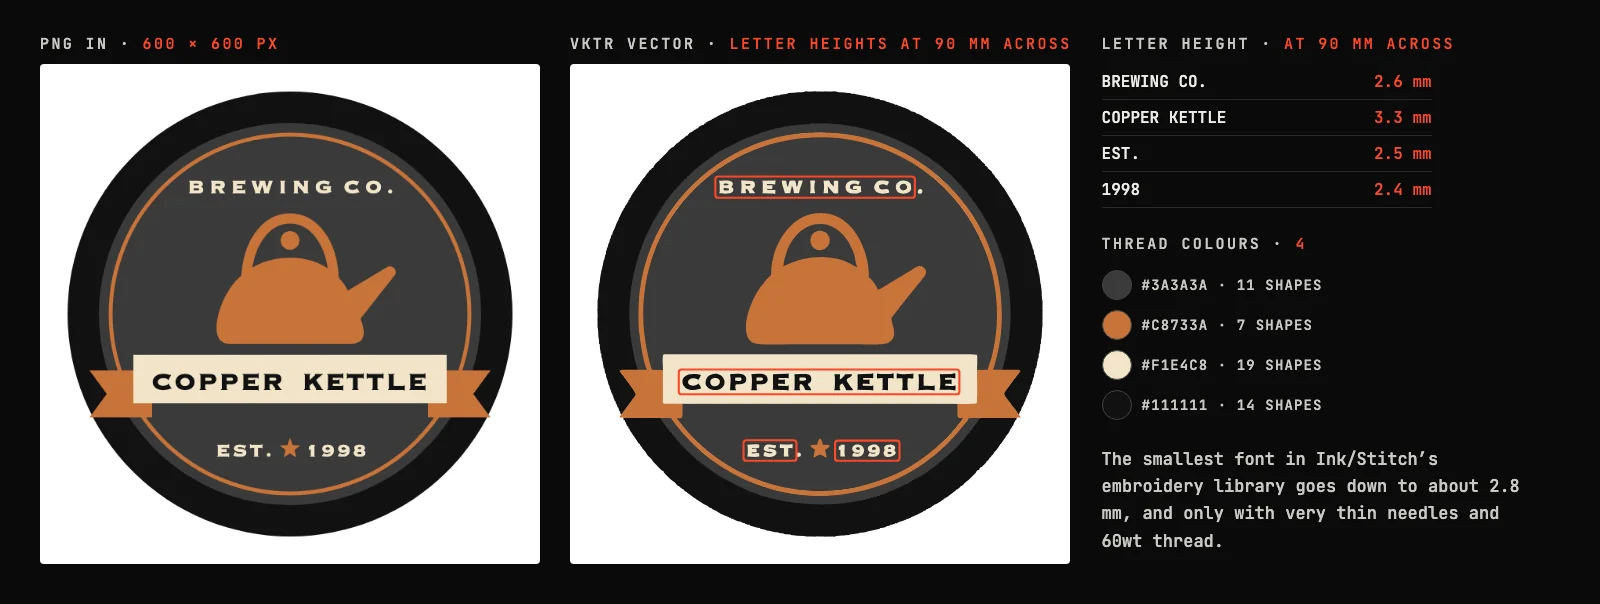
- Small lettering is the usual problem. At 90 mm across, our test badge’s small text is 2.4 to 2.6 mm tall; the smallest font in Ink/Stitch’s embroidery library goes down to about 2.8 mm, and only with very thin needles and thread.
- We traced 26 test logos with VKTR Studio and measured them at 90 mm wide: 15 needed one thread colour, and in 17 of the 24 with set type, the smallest type came out under 5 mm.
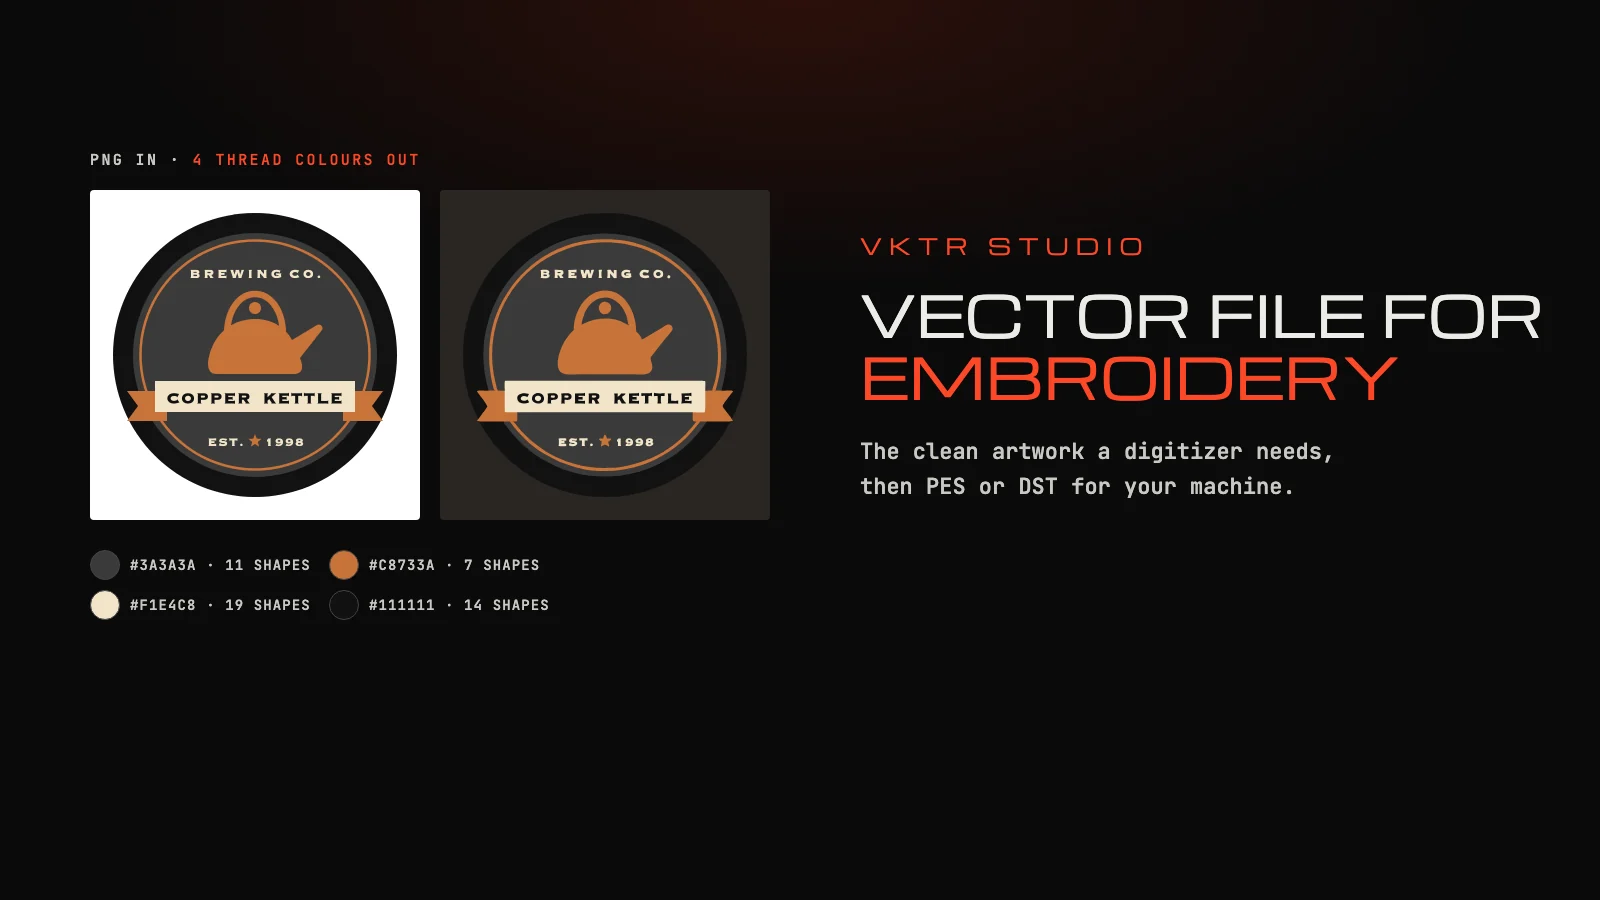
An embroidery machine cannot stitch a vector file: it needs a stitch file, such as PES, DST, JEF, EXP or VP3, made by digitizing the design. A clean vector file is what digitizing starts from: each flat colour becomes a thread colour, and each closed shape becomes an area of stitches. VKTR Studio turns a PNG or JPG logo into that clean vector in your browser; a digitizer, or the free Ink/Stitch extension for Inkscape, then turns it into stitches.
This guide explains the difference between a vector file and an embroidery file, what makes a logo easy to digitize, the free route from PNG to stitch file, and what we measured on 26 logos at 90 mm (about 3.5 inches) wide.
Vector file vs embroidery file
A vector file describes shapes: outlines and fill colours. An embroidery file describes stitches: where the needle goes in, in what order, and when to change thread. Turning one into the other is digitizing. For each part of the design the digitizer chooses a stitch type, a direction and a density, adds underlay stitches underneath, and sets the order the machine sews in.
- Running stitch follows a line; Ink/Stitch uses it for outlines, line art and small details.
- Satin columns zig-zag across a narrow band; Ink/Stitch describes them as the stitch for borders, letters and small fill areas.
- Fill stitch covers large areas by moving back and forth in rows.
Automatic PNG-to-DST converters make those choices for you. They can be quick for simple shapes, but the same rules apply to their input: flat colours, clean edges and nothing too small to stitch.
What makes a logo easy to digitize
- Few, flat colours. Each colour is a thread change. Soft shadows and photo detail are usually simplified first.
- Closed, clean shapes. Ink/Stitch’s fill stitch asks for a closed path with a fill colour, and shapes may have holes. That is exactly what a traced vector contains.
- Text big enough to stitch. Thread has thickness, so very small letters lose their shape. Ink/Stitch’s library of 93 embroidery fonts lists the size range each is designed for: the smallest goes down to about 2.8 mm, only 10 go down to 5 mm or less, and the median font starts at 16.2 mm.
- Lines with some width. Very thin lines are hard to stitch cleanly; thicken them, or stitch them as a running stitch.
The free route from PNG to PES or DST
Ink/Stitch is an open-source machine embroidery design platform built on Inkscape, and it reads and writes the common machine formats. With VKTR Studio for the artwork, the whole route costs nothing:
1. Trace the logo in VKTR Studio
Open the PNG or JPG in VKTR Studio, up to 5 MB on the free plan; it is processed in your browser, not uploaded. Each colour in Colours in the result will be one thread colour, so merge colours you do not need: open Advanced settings and lower Colours, before you edit anything.
2. Set the real size and check the small parts
Set the width to the size the logo will be stitched, then zoom in on the smallest lettering and the thinnest lines. Plan to re-letter small text with an embroidery font, and to enlarge or drop details that are too fine to stitch.
3. Download the SVG
Download SVG. Every shape in it is a closed path with one flat fill colour. Each download uses one credit; a free account gets 2 a day.
4. Digitize it in Inkscape with Ink/Stitch
Open the SVG in Inkscape with the free Ink/Stitch extension. A closed path with a fill colour is what Ink/Stitch’s fill stitch expects, holes included, so the large areas are ready to set up. Turn narrow parts into satin columns, which Ink/Stitch can make from a fill shape, and replace small text using Extensions > Ink/Stitch > Lettering > Lettering with a font designed for that size.
5. Save the stitch file for your machine
Save the design in your machine’s format: Ink/Stitch writes DST, EXP, JEF, PEC, PES, VP3 and others. Stitch a test on the same fabric before the real job.
What we measured: 26 logos at 90 mm wide
We took the 26 made-up logos in VKTR’s test set that sit on white or on nothing, saved each on white as a PNG 560 to 1,100 pixels wide, and traced it with VKTR’s engine and its automatic settings, run in Node.js on an Apple M1 computer. We measured each file at 90 mm (about 3.5 inches) wide.
| Check | Result |
|---|---|
| Thread colours | One in 15 logos; 3 to 7 in the other 11 |
| Closed shapes with flat fills, ready for fill stitch | All 920 outlines in all 26 files |
| Smallest set type (font size), in the 24 logos with set type | Median 4.05 mm; under 5 mm in 17; under 4 mm in 12; smallest 2 mm |
| Logos with at least one shape under 1 mm at its widest point | 22 of 26 (461 shapes in all) |
| Time to trace | Median 1.4 seconds per logo |
The shapes are ready; the sizes are the problem. Logos drawn for screens and print often carry 2 mm letters and half-millimetre lines that print well but are hard to stitch, so a small embroidery shows every part a digitizer has to rethink. The narrow shapes include thin rules, small letters, dots, and in a few logos thin slivers left where two close colours meet, which are worth deleting before you digitize.
Embroidery file questions
- Can you embroider a vector file?
- Not directly. An embroidery machine needs a stitch file, such as PES or DST, made by digitizing. A vector file is the artwork the digitizing starts from: its colours become threads and its shapes become stitch areas.
- What file type is used for embroidery?
- A stitch file in the machine’s format, such as PES, DST, JEF, EXP or VP3. Ink/Stitch, a free extension for Inkscape, writes all of these and more.
- Can I convert a PNG to a PES or DST file?
- Yes, by digitizing it. Trace the PNG into a clean vector first, with a tool such as VKTR Studio, then digitize the vector in embroidery software such as the free Ink/Stitch, or hand it to a digitizer, and save as PES or DST.
- What is embroidery digitizing?
- Turning artwork into stitches: choosing for each part a stitch type such as running, satin or fill, a direction, a density and underlay, and the order the machine sews in. The result is the stitch file the machine reads.
- Is there free embroidery digitizing software?
- Yes. Ink/Stitch is a free, open-source machine embroidery design platform built on Inkscape. It turns vector shapes into running, satin and fill stitches and writes DST, PES, JEF, EXP, VP3 and other formats.
- How small can embroidered text be?
- It depends on the font, thread and needle. Ink/Stitch lists a size range for each of its 93 embroidery fonts: the smallest goes down to about 2.8 mm, and only with very thin needles and 60wt thread; most start well above 5 mm.
- Do I need a vector file for embroidery?
- Not strictly, but it is the best starting point. Flat colours and closed shapes are what digitizing software works from; a blurry PNG makes the digitizer guess at every edge.
- How many colours can a logo have for embroidery?
- As many as there are threads, but every colour is a thread change, so fewer colours stitch faster and cleaner. Merge near colours and drop gradients before digitizing.
- Why does my embroidered logo look messy?
- Usually because parts are too small or too thin for thread at that size: letters a few millimetres tall, hairlines, or tiny gaps. Stitch the logo larger, simplify it, or re-letter small text with an embroidery font.
- Does VKTR Studio make PES or DST files?
- No. VKTR Studio makes the clean vector artwork, as SVG, PDF, EPS or DXF. Digitizing it into a PES or DST stitch file is done in embroidery software, such as the free Ink/Stitch, or by a digitizer.