Guides8 min read
How to Make a Laser Engraving or Cutting File From a Logo or Image
A laser cuts and scores along vector outlines and fills closed vector shapes; a photo can only be engraved. How to turn a logo or artwork into a clean laser file, set up cut and engrave layers, and what we measured when we made 26 logos laser-ready.
Key takeaways
- To make a laser file from a logo or image, turn it into closed vector shapes and save it as SVG, DXF or PDF. The laser then fills the shapes to engrave them, or follows their outlines to cut or score.
- A photo is different: LightBurn’s guide says images can only be engraved, never cut, and engraving them takes far longer. Logos, lettering and line art belong in vector form.
- Laser software sorts work into layers by colour. Give each operation an exact colour, such as black for engraving and red for cutting, before you export; VKTR Studio recolours any part by hex code.
- We traced 26 test logos with VKTR Studio: all 920 outlines came out closed, ready for a fill, and every logo had 2 to 17 holes, such as the middle of an O, that would drop out if you cut it as a stencil.
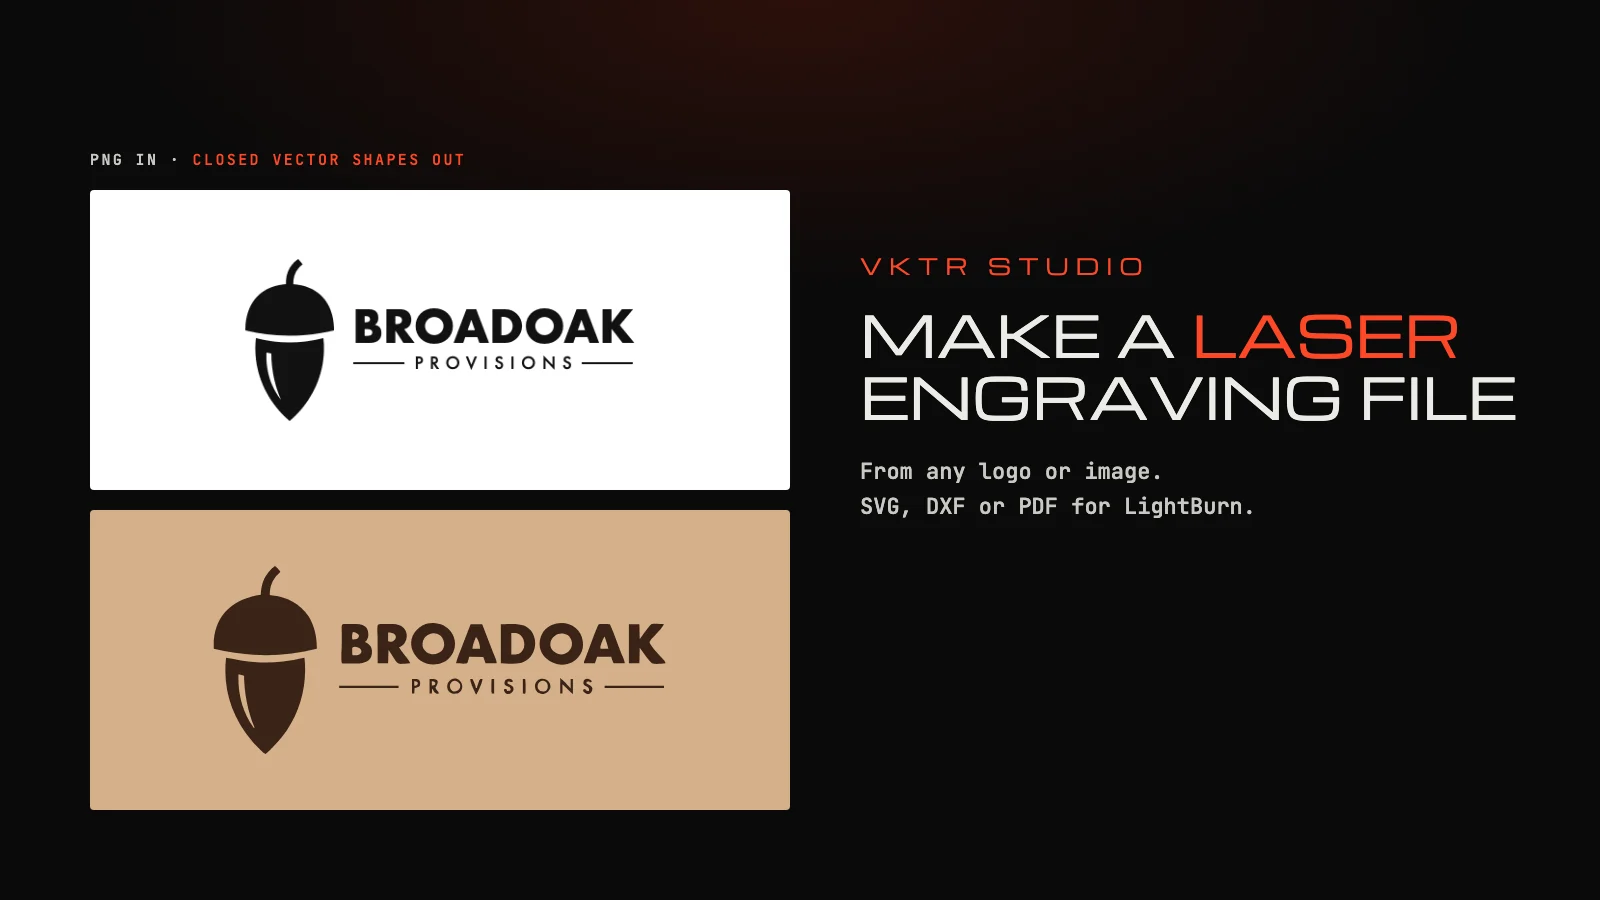
To make a laser engraving or cutting file from a logo or image, turn the artwork into closed vector shapes and save it as SVG, DXF or PDF. Your laser software can then fill the shapes to engrave them, or follow their outlines to cut or score. Photos are the exception: they are engraved as pixels. VKTR Studio turns a PNG or JPG logo into closed vector shapes in your browser in a second or two, with one colour per layer.
This guide explains which file your laser needs, what makes a vector file laser-ready, how to make one step by step, and what we measured when we made 26 logos laser-ready.
Vector or image: what your laser needs
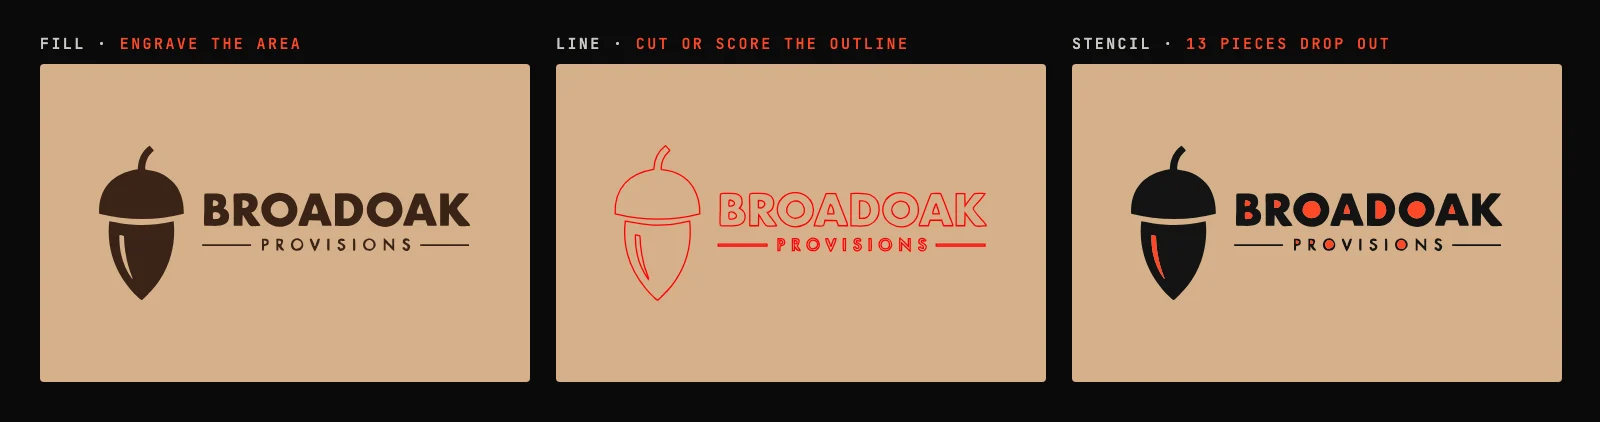
LightBurn’s user guide draws the line clearly. Images, made of pixels, can only be used for engraving, not cutting: the laser scans side to side, line by line, and an image usually takes a considerable amount of time. Vectors can cut through material, score or mark lines, and engrave areas. To cut or score, the shapes go on a layer in Line mode, which follows their paths. To engrave an area, they must be closed shapes on a layer in Fill or Offset Fill mode, and the result is one flat tone without shading.
- Logos, lettering, icons and line art: make them vectors. They can then be cut, scored or fill-engraved, at any size, with clean edges.
- Photos and shaded artwork: engrave them as images, with your laser software’s image modes. Tracing a photo turns its shading into a few flat areas, which is a different look, not a better engraving.
LightBurn has its own Trace Image command, and its guide calls the result an estimation of the image, best used for clip art or for artwork too small to engrave well. A dedicated tracer does the same job with more control: you see the colours, the layers and every shape before anything reaches the laser.
What makes a vector file laser-ready
- Closed shapes. Fill engraving needs every shape closed; an open path can only be cut or scored as a line.
- One colour per operation. LightBurn treats colours as layers, not as the colours of the finished piece, and when it imports a file it matches the file’s colours to its own palette. Use the exact palette colours, such as #000000 for layer 00 and #FF0000 for layer 02, and each part lands on the layer you intend.
- Holes you have planned for. Cutting letters out of a sheet leaves their middles loose. Engraving or cutting the letters themselves is fine; for a stencil, use a stencil font or add bridges.
- Details that survive the final size. Very thin lines and tiny pieces are the hardest parts to cut and engrave cleanly. Check the smallest parts at the size you will cut.
- The right format. SVG suits most laser software. DXF suits CAD and CAM software and cutters: VKTR’s DXF is AutoCAD R12, the dialect they read most reliably, with closed outlines in millimetres, one layer per colour, and curves turned into short straight segments. Image to DXF compares DXF and SVG for cutting.
How to make a laser engraving or cutting file with VKTR Studio
1. Open the logo or artwork in VKTR Studio
Go to VKTR Studio and drop, choose or paste a PNG, JPG, WebP or HEIC image, up to 5 MB on the free plan. Use the largest, sharpest copy you have. The image is processed in your browser, not uploaded, and converting and editing need no account.
2. Check the shapes
VKTR removes a plain white background and traces every area into closed shapes. For a one-colour engraving, open Advanced settings and set Mode to Black & white, so the whole design is one shape layer. Zoom in on thin lines and small letters: anything too fine for your laser at the final size is better enlarged or removed now.
3. Give each operation its own colour
Laser software sorts work into layers by colour. Click a colour under Colours in the result and type the hex code your software expects; LightBurn, for example, matches imported colours to its own palette, where layer 00 is #000000 and layer 02 is #FF0000. A common convention is black for engraving and red for cutting.
4. Download SVG or DXF at the real size
Set the width in millimetres, from 1 to 5,000, and download SVG, or DXF if your software or cutter prefers it. Each download uses one credit; a free account gets 2 a day, and Pro downloads without a limit.
5. Assign Fill or Line in your laser software
Import the file, then set each layer: Fill to engrave the area of the shapes, Line to cut or score along their outlines. Check the size and run a test on scrap material before the real piece.
What we measured: 26 logos made laser-ready
We took the 26 made-up logos in VKTR’s test set that sit on white or on nothing, 15 of them in one colour, saved each on white as a PNG 560 to 1,100 pixels wide, and traced it with VKTR’s engine and its automatic settings, run in Node.js on an Apple M1 computer. Lengths and areas are measured with each logo 100 mm (about 4 inches) wide.
| Check | Result |
|---|---|
| Closed outlines, needed for Fill | 920 of 920, in all 26 files |
| Layers (colours) | One in 15 logos; 3 to 7 in the other 11 |
| Cut line, if every outline is cut | 446 to 2,837 mm per logo (median 845 mm) |
| Engraved area, if every shape is filled | 252 to 8,053 mm² (median 1,118 mm²) |
| Holes that drop out of a stencil cut | 2 to 17 per logo (median 5); every logo had some |
| Time to trace | Median 1.4 seconds per logo |
The cut line and the engraved area are what your laser’s job time depends on. LightBurn notes that filling areas generally takes much longer than marking or scoring them, so it is worth asking whether a design can be scored instead of filled.
Where a trace needs care: two close colours, such as black lettering next to dark grey, can leave thin slivers of one colour along the edge of the other, and each sliver becomes a cut on the wrong layer. Look at each colour before you export; how to make an SVG for Cricut shows an example and how to clean it up.
Laser file questions
- How do I make a laser engraving file from an image?
- Trace the logo or artwork into closed vector shapes and save it as SVG, DXF or PDF, then set each colour in your laser software to Fill for engraving or Line for cutting. Photos are engraved directly as images instead.
- What file format is best for laser engraving?
- For logos, lettering and line art, a vector format: SVG for most laser software, DXF for CAD-based workflows, or PDF. For photos, an image file such as PNG or JPG, engraved with the software’s image modes.
- Can you laser cut a PNG or JPG?
- No. A laser cuts along vector paths, and LightBurn’s guide says images can only be engraved, not cut. Trace the PNG or JPG into vector shapes first, then cut along their outlines.
- Is SVG or PNG better for laser engraving?
- SVG for logos and text: the laser fills clean, closed shapes at any size, and the same file can also cut or score. PNG only for photos and shaded images, which are engraved as pixels and cannot be cut.
- Why won’t my SVG engrave as a fill in LightBurn?
- Fill engraving needs closed shapes; open paths can only be followed as lines. Close the paths in a vector editor, or trace the artwork again so every shape is closed.
- How do I set cut and engrave layers in my SVG?
- Give each operation its own exact colour before you export, for example #000000 for engraving and #FF0000 for cutting. LightBurn matches imported colours to its palette and puts each colour on its own layer, where you choose Fill or Line.
- Will the inside of letters fall out when I laser cut them?
- If you cut the letters out of a sheet to make a stencil, yes: the middles of letters such as O, A and B are loose pieces. Use a stencil font or add bridges. If you cut the letters themselves out, the holes are simply cut through.
- Can I use a DXF from VKTR Studio for laser cutting?
- Yes. VKTR’s DXF is AutoCAD R12 with closed outlines in millimetres and one layer per colour, the dialect cutters and CAD software read most reliably. Curves become short straight segments, and fills are not carried.
- How do I prepare a photo for laser engraving?
- Engrave it as an image rather than tracing it. Use your laser software’s image modes for the material, and run a test on scrap first. Tracing a photo turns its shading into flat areas.
- Can I make a laser file for free?
- Yes. VKTR Studio converts and edits for free in the browser with no account, and a free account downloads 2 SVG, DXF, PDF or EPS files a day.